Bream and Bluegill Fishing for Beginners
For many folks, the idea of fishing can feel a little intimidating, especially if you’re new to the whole scene or trying to introduce your kids to the joys of the outdoors. You might picture needing a fancy boat, expensive gear, or complicated techniques just to catch anything. But I’m here to tell you that’s simply not the case, especially when it comes to chasing Georgia’s incredibly abundant and eager bream and bluegill. This comprehensive guide is designed to demystify panfish angling, making it accessible, super fun, and incredibly rewarding for beginners of all ages right here in our beautiful state.
The Allure of Bream and Bluegill for New Anglers
Let's be real, when you're just starting out, or you're trying to ignite that spark in a youngster, nothing beats consistent action. That's where bream and bluegill really shine. They're like the friendly, welcoming committee of the fish world, always ready to greet your bait.
Why Panfish are Perfect for Beginners
One of the biggest hurdles for new anglers is often the sheer accessibility of fishing. You might think you need to travel far, launch a boat, or have some secret spot. But with bream and bluegill, that's rarely the case. These feisty little fish are found in virtually every pond, lake, and slow-moving river throughout Georgia, often right on the bank where you can easily reach them. This means less travel time and more time with a line in the water, which is a huge win when you’re building confidence.
Beyond their widespread availability, panfish are incredibly forgiving. They're not particularly shy or selective eaters, making them much easier to entice than, say, a wary largemouth bass or a finicky trout. This translates directly into higher catch rates. There's nothing more disheartening for a new angler than sitting for hours without a bite, but with bream and bluegill, you'll often have a bent rod within minutes, keeping spirits high and enthusiasm burning bright, especially for impatient little ones.
Another fantastic aspect is the minimal investment required. Forget about shelling out hundreds or thousands of dollars for specialized equipment. A simple, inexpensive rod and reel combo, a handful of hooks, a few bobbers, and some basic bait are all you truly need to get started. This low barrier to entry makes bream and bluegill fishing an ideal gateway into the angling world, allowing you to test the waters (pun intended!) without breaking the bank.
And let's not forget the delicious payoff! While they may be small, bream and bluegill offer some of the finest eating in freshwater. Their sweet, flaky white meat is a treat, whether pan-fried, baked, or grilled. It’s a wonderful way to connect with your food, offering a tangible reward for your efforts and a fantastic end to a day on the water. What a joy it is to teach a child not just how to catch a fish, but how to prepare it for a meal.
Common Bream and Bluegill Species in Georgia
When we talk about "bream" or "panfish" in Georgia, we're actually referring to several different species of sunfish. While they all share some characteristics, knowing a few key players can make your experience even more engaging.
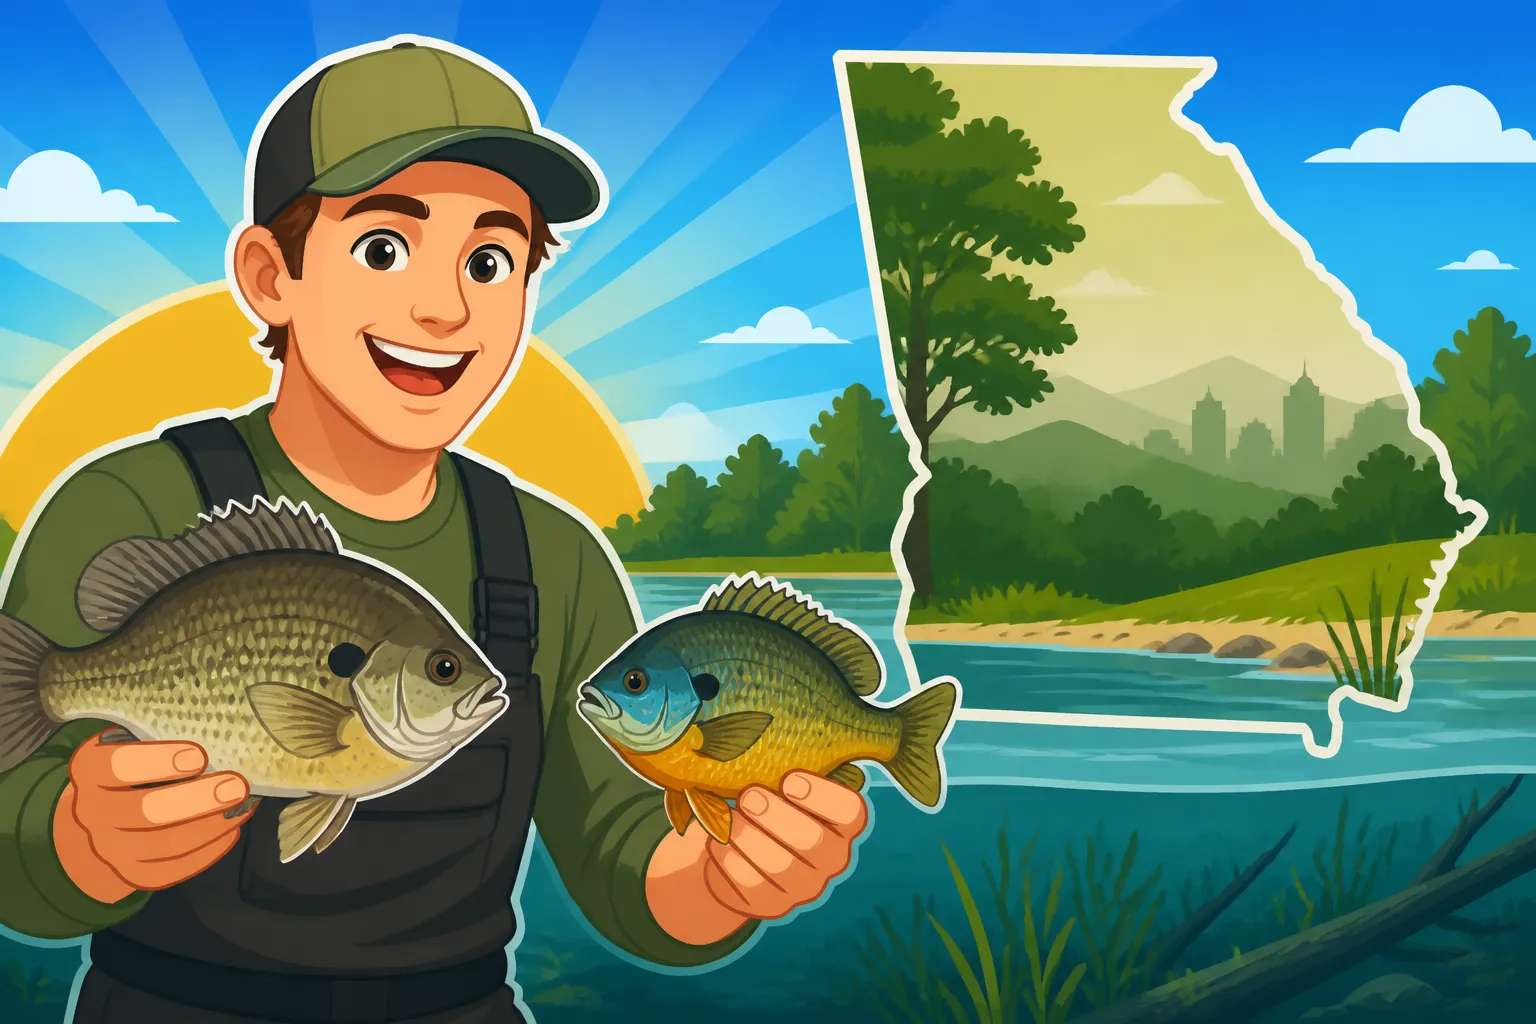
The Bluegill (Lepomis macrochirus) is arguably the most iconic and widespread panfish in Georgia. It’s what most people picture when they think of a "sunfish." They're round-bodied, often have distinct dark vertical bars on their sides, and a prominent black spot on the "ear flap" of their gill cover. Bluegill are notorious for their willingness to bite and their spirited fight, making them a favorite target for beginners and seasoned anglers alike.
Then there's the vibrant Redbreast Sunfish (Lepomis auritus). These beauties are truly eye-catching, known for their brilliant orange to reddish-orange bellies and their elongated, often entirely dark "ear flap" that lacks the colored margin found on some other sunfish. You'll often find these guys in rivers and streams, though they do inhabit lakes and ponds as well, especially where there's some current or rocky bottom. They're just as eager to bite as bluegill and put up a surprisingly strong fight for their size.
The Warmouth (Lepomis gulosus) is another fun one to encounter. They have a chunkier body, often with a mottled, brownish pattern that helps them blend into rocky or brushy cover. You can identify them by their reddish eyes, usually three to four distinct anal fin spines, and often a few lines radiating back from their eyes. Warmouth love to hide in dense cover like submerged logs or thick weeds, making them a thrilling catch when you pull them out of heavy structure.
Of course, Georgia's waters are also home to other sunfish species like Redear Sunfish (often called shellcrackers for their habit of eating snails), Green Sunfish, and various hybrids. While this guide primarily focuses on the widely distributed bluegill and redbreast, the techniques you learn here will work for almost all panfish you encounter. To dive deeper into all the cool fish you might reel in, you might find our guide on "Bream and Sunfish Species Found in Georgia Waters" incredibly helpful for identifying your catches!
Understanding Your Target: Bream and Bluegill Identification and Habits
Becoming a successful angler, even for panfish, means understanding a bit about the fish you're trying to catch. Knowing their habits and how to tell them apart will not only make you a better fisherman but also deepen your appreciation for the underwater world.
Key Identification Features
Let's break down how to recognize these common Georgia panfish. It's not just about knowing what they are, but appreciating their unique characteristics.
The Bluegill (Lepomis macrochirus) is, as mentioned, our most common sunfish. Look for its round, disc-shaped body. The most reliable ID mark is usually the small mouth and the distinct, often entirely black spot on the posterior (back) part of the gill cover, which forms what we call the "ear flap." On their sides, you’ll often see several faint, dark vertical bars, and their overall color can vary from olive-green to bluish-purple on the back, fading to yellow or orange on the belly, especially in males during spawning season. They rarely get larger than a dinner plate, with most catches being in the 6-8 inch range, making them perfect for smaller hands to handle.
The Redbreast Sunfish (Lepomis auritus) is easily distinguished by its strikingly long, narrow, and often completely dark ear flap, which usually extends well beyond the eye. Unlike the bluegill, the redbreast's ear flap typically lacks any colored margin. Their body shape is also a bit more elongated than a bluegill's, and their flanks are often adorned with wavy, iridescent blue lines. The most obvious feature, of course, is that beautiful reddish-orange to bright red belly that gives them their name, especially prominent in breeding males. You'll often find these vibrant fish in clearer, flowing waters, but they adapt well to lake environments too.
The Warmouth (Lepomis gulosus) is a robust, stocky sunfish that can sometimes be confused with a rock bass or even a small bass due to its larger mouth. A key identifier is the presence of three to four anal fin spines (most other sunfish have three), a relatively large mouth that extends back at least to the middle of the eye, and distinctive wavy lines radiating from its reddish eye. Their body is usually a mottled olive-brown or gray, helping them camouflage perfectly among submerged vegetation and woody debris. They're not as abundant as bluegill or redbreast in most spots, but they're a fun, aggressive fighter when you do hook into one. If you're curious to see how these and other sunfish compare, check out our detailed article on "How to Identify Bluegill and Other Sunfish" for more visual cues and expert tips!
Where They Live and What They Eat
Understanding the home and dinner menu of bream and bluegill will greatly improve your chances of finding and catching them. They're not too picky, but they do have preferences.
Bream and bluegill thrive in shallow, warm freshwater environments. Think about those calmer parts of a lake, the back coves, ponds, or slow-moving sections of rivers. They are absolute magnets for structure and cover. This includes dense aquatic vegetation like lily pads, cattails, and submerged grass beds, which offer both protection from predators and a buffet of insects. Fallen trees, brush piles, old tires, and even man-made structures like docks, piers, and bridge pilings are prime real estate for these fish. These areas provide shade, ambush points, and a concentrated food source. They rarely venture into deep, open water, preferring the safety and sustenance of the shallows.
Their diet is quite varied, making them relatively easy to tempt with a wide range of baits. Bream and bluegill are omnivores, meaning they'll eat just about anything that fits in their mouth. Their natural diet consists of small insects (both aquatic and terrestrial), insect larvae, tiny crustaceans, snails, worms, and even some plant matter like algae. This broad palate is fantastic news for the beginner angler because it means you don't need highly specialized bait; common and inexpensive options work incredibly well.
During spring and early summer, you'll often find bream and bluegill congregating in shallow areas to spawn. They create circular depressions on the bottom, called "beds," often in large groups. These beds are typically found in 1-4 feet of water, on firm bottoms like sand or gravel. When they're on their beds, they're incredibly aggressive, defending their nests from anything that comes too close – including your bait! This is a prime time to catch a lot of fish quickly.
Throughout the rest of the year, their movements are generally limited to the shallower zones. In extremely hot summer weather or very cold winter conditions, they might move to slightly deeper water (5-10 feet) or find thicker cover to regulate their body temperature, but they seldom abandon the shallows entirely, making them accessible to bank anglers year-round.
Assembling Your Beginner-Friendly Bream and Bluegill Toolkit
One of the beautiful things about bream and bluegill fishing is that you don't need to mortgage the house for gear. Simple, affordable, and effective is the name of the game. Let's get you set up without the fuss.
Rods, Reels, and Line: Simplicity is Key
When choosing your fishing rod, think "light and sensitive." An ultra-light or light action spinning rod, typically between 5 and 6 feet in length, is absolutely perfect. The lighter action allows you to feel even the slightest nibble from a small panfish, and the shorter length is easier for beginners, especially kids, to handle and cast accurately. You don’t need a rod that can cast a mile; precision in the shallows is more important. Look for a rod that flexes well, as this will help absorb the fight of the fish and prevent hooks from pulling out.
For the reel, a small spinning reel in a size 1000 or 2000 is ideal. Spinning reels are incredibly user-friendly for beginners because they're less prone to tangles (like baitcasters can be) and casting is intuitive. Make sure it's smooth when you crank the handle and that the drag system (the part that lets line out when a fish pulls hard) works properly. Many starter kits sold at sporting goods stores or on Amazon come with a rod and reel pre-spooled with line, which is a fantastic way to get started without overthinking it. While not specifically for panfish, our guide on "Best Rod and Reel Combo for Largemouth Bass in Georgia" might offer some insights on quality combos, just scale down for panfish!
As for fishing line, keep it light. A 4 to 6-pound test monofilament or fluorocarbon line is more than sufficient. This lighter line is less visible to fish in clear water, and it allows for easier casting of small, lightweight baits. Monofilament is typically cheaper, stretches a bit (which can be forgiving for beginners), and is easy to tie knots with. Fluorocarbon is less visible underwater and more sensitive, but it can be a little pricier and stiffer. For absolute beginners, monofilament is often the easiest starting point. You can find good quality fishing line at any tackle shop or major retailer.
Many sporting goods stores, like Bass Pro Shops or Academy Sports + Outdoors, offer fantastic "kid combo" or "beginner combo" packages that include a rod, reel, and sometimes even a small tackle box with basic tackle. These are often excellent value and perfectly suited for bream and bluegill. You can also find a vast selection of reliable beginner gear on Amazon, complete with customer reviews to help you choose.
Essential Terminal Tackle and Baits
Now that you have your rod and reel, let's talk about the business end of your fishing setup – the hooks, bobbers, and weights. These are small items but make all the difference.
First up, hooks. For bream and bluegill, you want small, sharp, long-shanked hooks. Sizes 6, 8, or 10 are usually perfect. The "long shank" just means the shaft of the hook is longer, which makes it much easier to bait and, crucially, much easier to unhook a fish without sticking your fingers or damaging the fish. Offset or "Aberdeen" style hooks are common and effective. Make sure they are sharp; a dull hook means missed bites.
Next, bobbers. These are your visual indicators. For beginners, simple, clip-on bobbers are fantastic. The small, red-and-white plastic ones are widely available and easy to use. They float on the surface and dip or move when a fish bites your bait. For a slightly more advanced presentation, or if you find fish are a bit deeper, you might explore "slip bobbers" later, but for now, keep it simple with the clip-ons.
You’ll also need a few sinkers, specifically small split-shot weights. These are tiny lead or steel weights that you pinch onto your line a few inches above your hook. Their purpose is to add just enough weight to cast your bait effectively and to get it down to where the fish are. Don't use too much weight; you want your bait to drift naturally. A few small split-shots are better than one big one, as they create a more subtle presentation.
Now for the fun part: baits! This is where bream and bluegill really show their forgiving nature. Natural baits are incredibly effective and usually the easiest for beginners. Worms are probably the king of panfish baits. Red wigglers are fantastic because they're lively and just the right size, but even pieces of a nightcrawler will work. They’re readily available at bait shops, many convenience stores, and even some garden centers. Crickets are another absolute killer for bluegill and redbreast, especially in warmer months. Their chirping attracts fish, and their scent is irresistible. You can buy them by the dozen at most bait shops or pet stores. Other surprisingly effective baits include small pieces of corn (especially canned corn) or even tiny bits of bread. These are clean, cheap, and can sometimes be just what the fish are looking for. To get more specific on bait choices, you'll want to read our article on "Best Bait for Bream Fishing".
While natural baits are highly recommended for beginners, don't shy away from small artificial baits once you get the hang of things. Tiny jigs (like a 1/32 or 1/16 ounce jig head with a small soft plastic body), mini spinnerbaits (often called "beetle spins"), or small inline spinners can also be incredibly effective, especially for catching larger panfish. These require a bit more technique in terms of retrieve, but they’re reusable and can be a lot of fun. You can find a huge variety of these tiny lures on Amazon or at your local tackle shop.
| Bait Type | Pros | Cons | Best For | Availability |
|---|---|---|---|---|
| Worms (Red Wigglers, Nightcrawlers) | Highly effective, universal appeal, stays on hook well. | Can be messy to handle, requires refrigeration. | All panfish species, great for all seasons. | Tackle shops, garden centers, some grocery stores, Amazon |
| Crickets | Irresistible to bluegill, lively presentation. | Harder to keep alive and contained, can jump off hook. | Bluegill, Redbreast Sunfish, especially in warmer months. | Tackle shops, pet stores. |
| Canned Corn | Clean, cheap, appealing to some panfish, floats well. | Less effective than live bait, falls off hook easily. | Bluegill, occasionally carp or other sunfish. | Grocery stores. |
| Bread (Small balls) | Extremely cheap, readily available, attracts fish quickly. | Falls apart easily, can foul water if too much is used. | Smaller bluegill, can attract minnows. | Grocery stores (your pantry!). |
| Small Jigs (1/32 – 1/16 oz) | Reusable, can target larger fish, offers versatile presentations. | Requires more technique (jigging, slow retrieve), artificial feel. | All panfish, especially for more active fish; appeals to skilled anglers. | Tackle shops, Amazon. |
| Beetle Spins/Inline Spinners | Flash and vibration attract strikes, good for covering water. | Can snag on cover, requires steady retrieve. | Aggressive panfish, especially good for bluegill and redbreast. | Tackle shops, Amazon. |
Mastering the Basics: Techniques for Panfish Success
With your gear in hand, it's time to learn how to put it all together and actually catch some fish. Don't worry, the techniques for bream and bluegill are wonderfully straightforward.
Rigging Up Your Line
Getting your line set up correctly is the first step. For a beginner-friendly panfish rig, we'll keep it super simple. Imagine your line coming off your reel, through the guides on your rod.
- Tie on your hook: First, you'll tie your small, long-shanked hook to the end of your fishing line. There are many knots, but a simple improved clinch knot or a Palomar knot are reliable and easy to learn. There are tons of videos online that can show you step-by-step how to tie these. Practice at home before you get to the water!
- Add your split-shot: About 4 to 8 inches above your hook, pinch one or two small split-shot weights onto your line. The goal here is just enough weight to get your bait to sink slowly and help with casting, not to plummet to the bottom. If your bait is very light (like a small cricket), you might need less weight. If it’s a bigger worm, you might need a touch more.
- Attach your bobber: Finally, about 1 to 3 feet above your split-shot, attach your clip-on bobber. This will be your visual indicator for bites and helps suspend your bait at a desired depth.
Now, about bobber depth adjustment. This is a crucial element. The distance between your bobber and your hook determines how deep your bait will sit in the water. Start by setting your bobber so your bait is only about 1 to 2 feet deep. Why? Because panfish often cruise in the shallowest waters, especially around cover. If you're not getting bites after a few casts, try adjusting your bobber up your line by another foot or so, making your bait sink a little deeper. Continue this process until you find where the fish are holding. The goal is to present your bait right at their eye level, or just above them, so they can easily see it. For a deeper dive into this, our guide on "How to Rig a Bobber for Bream" provides excellent visuals and more detailed explanations.
Lastly, baiting the hook properly is key. For worms, thread a small piece onto the hook, ensuring the hook point is exposed. You want enough worm to look tempting, but not so much that it covers the hook point, which needs to be exposed to grab the fish's mouth. For crickets, hook them gently through the collar or behind the head so they stay lively and on the hook. Experiment a little; sometimes fish prefer a smaller piece of bait, other times a fuller presentation.
Casting, Presentation, and Detecting Bites
With your rig assembled, it's time to get your bait into the water! Don't worry about casting like a pro; consistency and a quiet approach are far more important.
For basic casting with spinning gear, hold the rod with the reel stem between your middle and ring fingers. Pinch the line coming from the spool with your index finger. Open the bail (the wire arm that guides the line onto the spool). Bring the rod back over your shoulder, smoothly sweeping it forward in an arc, aiming for your target. As the rod comes forward, release your index finger from the line. It sounds complicated, but after a few tries, it becomes second nature. Aim for areas with cover – lily pads, fallen trees, dock edges.
One of the biggest mistakes beginners make is being too loud or clumsy around shallow water. Bream and bluegill, especially in clear, calm water, are easily spooked by sudden movements, loud talking, or heavy footsteps on the bank. Try to approach your fishing spot quietly and make your casts gently. You want your bait to land softly, not with a big splash that sends fish darting away.
Once your bait is in the water, the magic begins. This is where your bobber earns its keep. Watching the bobber is crucial for detecting bites. It might give a little twitch, slowly sink, or dart sideways. Any unnatural movement of that bobber means a fish is probably mouthing or running off with your bait. Don't stare intensely at just one spot; keep an eye on your bobber but also take in the surroundings, listen to nature, and enjoy the peace.
When you see a bite, don't yank the rod like you're trying to set a world record! Panfish have relatively soft mouths, and a hard yank can tear the hook out or even pull the fish off your line. Instead, use a gentle, smooth upward sweep of your rod. This should be enough to set the small hook firmly. Then, begin to reel in steadily, keeping your line tight so the fish can't throw the hook. Enjoy that bending rod and the fight of a feisty bluegill! For a comprehensive walk-through on these fundamental steps, our article "How to Catch Bluegill as a Beginner" is packed with actionable advice.
Finding the Best Bream and Bluegill Spots in Georgia
One of the great things about targeting bream and bluegill is that they are incredibly widespread across Georgia. You don't need to know secret spots or trek into the wilderness; chances are, there's a great panfish spot closer than you think.
Targeting Productive Freshwater Environments
Georgia is blessed with an abundance of diverse freshwater environments, and many of them are teeming with bream and bluegill.
Ponds and small lakes are often the best starting points for beginners. Many local communities, state parks, and even private properties have ponds that are regularly stocked and managed, leading to healthy populations of panfish. These smaller bodies of water are typically less pressured than large reservoirs, offer easy bank access, and their smaller size makes it easier to locate fish. Look for public fishing areas maintained by the Georgia Department of Natural Resources (DNR); these often have excellent facilities and thriving fish populations perfect for a family outing. Our guide on "Where to Catch Bluegill in Georgia Ponds" lists some fantastic options.
For those ready to venture onto larger reservoirs, bream and bluegill are still very much a target, even if they often get overshadowed by bass or crappie. On big lakes like Lake Lanier, Lake Oconee, or Lake Hartwell, you'll want to focus your efforts on the countless coves, creek arms, and shallow flats. Specifically, target areas with abundant aquatic vegetation, submerged timber, or dock structures, as these offer the protective cover and food sources panfish crave. Don't try to fish the main lake; stick to the sheltered, shallow pockets.
Rivers and creeks also hold excellent populations of bream and bluegill, particularly the redbreast sunfish. Focus on the slower-moving sections, eddies (areas where the current swirls back on itself), and areas around submerged logs or rock formations. The Flint River and Ocmulgee River are known for good sunfish populations. Just be aware of stronger currents in some river sections, which might require a slightly heavier split-shot or a different presentation.
Identifying Key Structure and Cover
Once you're at your chosen body of water, knowing where to cast is vital. Bream and bluegill are masters of ambush and hide-and-seek; they love to hug any kind of structure or cover.
One of the most reliable indicators of panfish presence is aquatic vegetation. Think lily pads, cattails, emergent grass beds, or even submerged hydrilla. These plants provide a trifecta for panfish: shelter from predators (like big bass), shade from the sun, and a rich ecosystem for insects and larvae, which is their primary food source. Cast your bait right up to the edge of the vegetation, or even into sparse pockets within it.
Fallen trees and brush piles are classic fish magnets for almost all species, and bream and bluegill are no exception. These tangled masses of wood offer complex hiding spots and attract all sorts of aquatic life. If you see a tree that's fallen into the water, especially one with lots of branches, you can bet there are panfish lurking within or around it. Be prepared for snags here, but the reward is often worth the risk!
Man-made structures like docks, piers, and bridges are also fantastic spots. They provide overhead cover and shade, which is especially important on bright, sunny days. The pilings and supports often grow algae and attract small organisms, creating a mini-ecosystem. Cast your bait right up against the pilings or underneath the dock itself. These spots are also often easily accessible for bank anglers.
Finally, always pay attention to areas with shade. On a hot, sunny day, fish will gravitate towards any shaded area to escape the intense sun. This could be under a dock, next to a large overhanging tree, or on the shady side of a brush pile. Casting into these cooler, darker zones can often yield immediate results. If you're looking for prime family-friendly spots, our article on "Best Beginner Fishing Spots for Bluegill in Georgia" is a treasure trove of information, and "Best Fishing Spots for Kids and Families in Georgia" highlights locations perfectly suited for a relaxed day of panfishing. Many Georgia State Parks also offer excellent fishing ponds and access points, making "Georgia State Parks with the Best Fishing Ponds" another great resource.
Essential Tips for a Rewarding Fishing Adventure
Beyond the basic gear and techniques, a few extra tips can make your bream and bluegill fishing trip even more successful and, most importantly, more enjoyable. Remember, it's about the experience as much as the catch!
Timing Your Trip and Staying Safe
While panfish can often be caught throughout the day, certain times tend to be more productive. Generally, the early morning hours, just as the sun is coming up, and the late afternoon/evening, as the sun begins to set, are the prime feeding times. During these periods, the light is lower, and the water temperature is often more comfortable for the fish, leading to increased activity. However, don't shy away from fishing midday, especially if it's cloudy or if you're targeting shaded areas; bream and bluegill are often cooperative even then, which is great for family schedules.
Always keep an eye on the weather. Cloudy days can actually be fantastic for panfish, as the reduced light encourages them to move into more open, shallower areas. Avoid fishing during thunderstorms or when heavy rains are actively falling, as this can be dangerous and usually makes fishing less pleasant and productive. A light drizzle, though, can sometimes turn the bite on!
Staying safe and comfortable is paramount, especially when fishing with children. Sun protection is non-negotiable in Georgia. Hats with wide brims, sunglasses (polarized sunglasses are amazing because they reduce glare and allow you to see into the water better!), and plenty of sunscreen are essential. You can find excellent, comfortable sun gear for the whole family on Amazon. Also, remember to bring plenty of water and snacks. Fishing can be thirst-inducing, and a well-fed, hydrated angler (especially a child) is a happy angler.
Finally, and this is super important: always make sure you and anyone fishing with you has the proper Georgia Fishing License Guide requirements sorted out. While bream and bluegill are common, a valid fishing license is required for most anglers over a certain age. The good news is, kids under 16 generally don't need a license to fish in Georgia, making it even easier to introduce them to the sport. For adults, it's a simple process to get one online or at a local license agent. You can learn more about this by checking out our guide on "Do Kids Need a Fishing License in Georgia?" to ensure everyone is compliant.
Practicing Responsible Angling
As outdoor enthusiasts, it's our shared responsibility to protect our natural resources and ensure that future generations can enjoy the same experiences we do. Practicing responsible angling is part of the fun.
Decide beforehand if you're planning on catch and release or keeping fish for a meal. If you're going to keep them, only take what you can realistically eat and abide by any local creel limits (which are usually quite generous for panfish). If you're releasing fish, treat them with care.
Proper handling of fish is crucial for their survival. Try to minimize the time the fish is out of the water. Wet your hands before touching the fish; dry hands can remove the fish's protective slime coat, making it vulnerable to disease. Hold the fish gently but firmly, supporting its body. Use a pair of small pliers or a hook remover to quickly and carefully remove the hook. If the fish is hooked deeply, it might be best to just cut the line as close to the hook as possible, as trying to force it out could cause more damage.
Always leave no trace. Whatever you bring with you to your fishing spot – bait containers, snack wrappers, old fishing line – pack it out. The goal is to leave the area cleaner than you found it. This respects wildlife, other anglers, and keeps our beautiful Georgia waterways pristine.
If you plan on keeping your catch, bring a cooler with plenty of ice. This keeps the fish fresh and safe for consumption. A good, insulated cooler is a solid investment and readily available from outdoor retailers or, you guessed it, Amazon. Getting your fish on ice quickly is one of the best ways to ensure they taste fantastic when you get them home.
Fishing for bream and bluegill is more than just catching fish; it’s an opportunity to connect with nature, unwind, and create lasting memories, especially with family. With a little patience, the right simple gear, and respect for the outdoors, you're all set for a fantastic time on Georgia's waters.
Disclaimer
Always check the latest Georgia Department of Natural Resources (DNR) fishing regulations before heading out, as rules, license requirements, and creel limits can change. This guide is for informational purposes only and does not constitute legal advice.